|
| ST LAWRENCE TWIN CRANKSHAFT REPAIR |
| Author |
Message |
    
rbprice
Senior Member
Username: rbprice
Post Number: 339
Registered: 11-2001

| | Posted on Wednesday, September 15, 2010 - 09:31 pm: | 


|
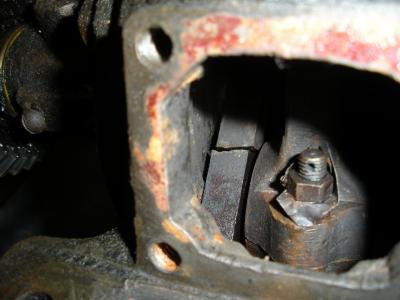
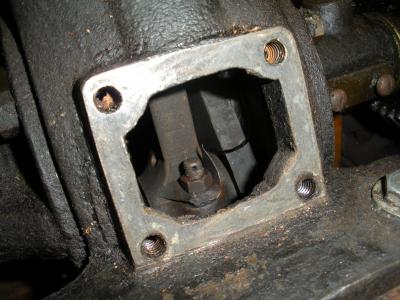
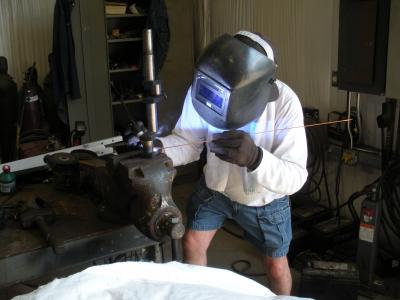
Dave Prejean discovered that the rear-most throw on his St. Lawrence Twin was cracked all the way through. He tack welded the cracks from both sides while the crank was still in the engine.
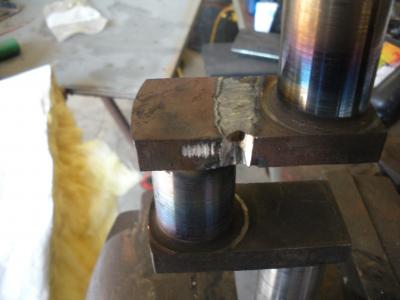
Then he carefully ground a vee on both sides of the throw, filled the grooves with weld, ground off and veed the end faces and welded them.
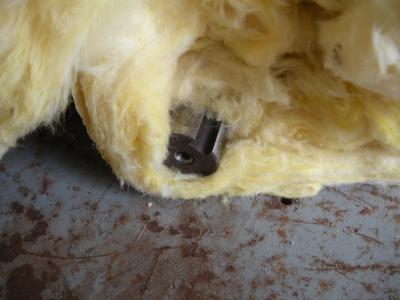
After cooling overnight in a glass fiber blanket the shaft was straightened. Subsequent grinding removed all the very sharp corners on all the edges of all the throws and smoothed off the weld area on the repaired surfaces.
A great display of Dave's welding skills and JB's skill in straightening bent things and Bob Legnon's skills at making repair parts for things like straightening machines.
The crank is now back in the engine.
 |
J.B.
Visitor
| | Posted on Wednesday, September 15, 2010 - 11:02 pm: |
|
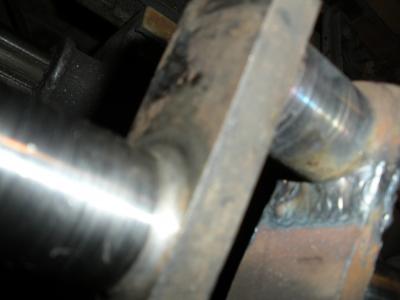
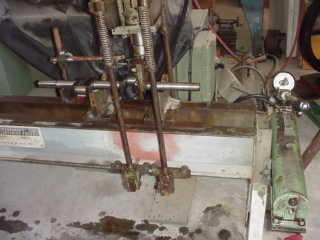
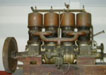
David brought the crank by Saturday. Jamie Hurry rescued this crankshaft straightener from the salvage yard, the ram needed rebuilding. Bob Legnon offered to handle that task. It was leaking and the V block on the end had broken off, only held on with a 5/16" allen screw. It was evidently used for a long time without the block as the ram was mushroomed. Bob cleaned it up in the lathe while it was out and I made a socket to fit over the shaft, David welded it to the V block, keeps the strain off of the screw. The shaft was .040" out after welding, 4 tries had down to .002", David was happy with that. The pump on this unit was interesting, it only has one visible piston, but it's two stage, moves fast until it hits the crank and then goes into a very slow, powerful mode. The nice thing about it is that you can straighten with the indicator in place, measuring your over bend. The next job for this tool is the prop shaft from my boat, last outing I installed a just re pitched prop, boat ran fine for about two minutes and I struck something under water, bent the prop and shaft. 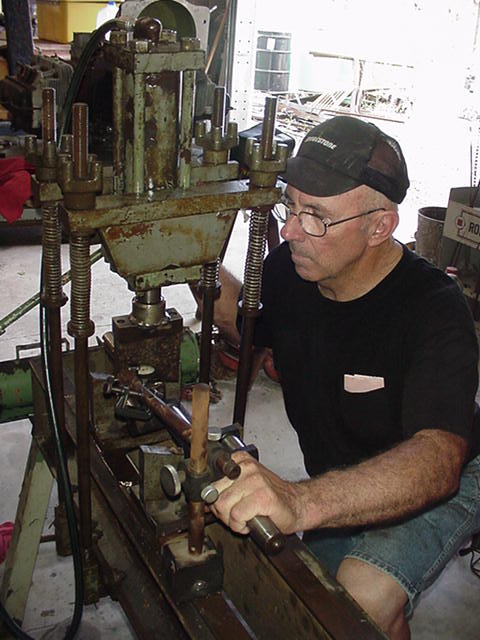 |
J.B.
Visitor
| | Posted on Wednesday, September 15, 2010 - 11:32 pm: |
|
 |
J.B.
Visitor
| | Posted on Thursday, September 16, 2010 - 12:04 am: |
|
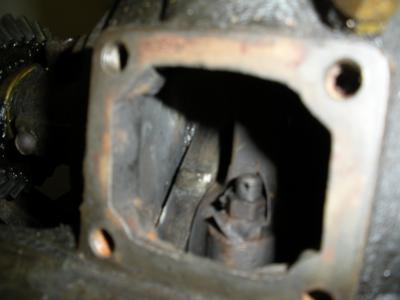
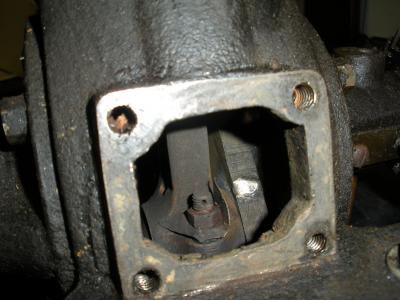
We should have taken a picture of the crank after it was dressed up, but you can get a glimpse of it in this last picture. As Bob said, David radiused all of the throws before installing it, you can see they were very sharp, I'm sure that contributed to the break. 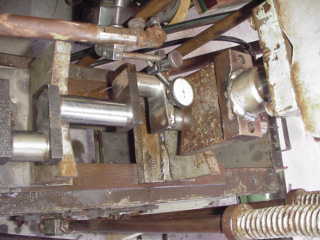 |
richarddurgee
Senior Member
Username: richarddurgee
Post Number: 2452
Registered: 11-2001
| | Posted on Thursday, September 16, 2010 - 11:45 am: |
|
*
David, excellent work saving the St lawrence cranksshaft !
J.B, Bob, Jamie, that's an impressive project, getting rerpairing and using the machine !
Could use one of those, lots of stuff around here needs straightening out !
* |
keith
Senior Member
Username: keith
Post Number: 302
Registered: 02-2002
| | Posted on Thursday, September 16, 2010 - 03:00 pm: |
|
rbprice
When you upload and post your pictures on the same line, it strings them out making it annoying to view all the post. Just do a enter/return between pictures to stack them. |
andrew
Moderator
Username: andrew
Post Number: 1075
Registered: 11-2001

| | Posted on Thursday, September 16, 2010 - 03:16 pm: |
|
FYI, I have edited that post. Thanks. |
|
|
|


|